This post contains affiliate links. If you buy through them, we may earn a small commission at no extra cost to you. Learn more.
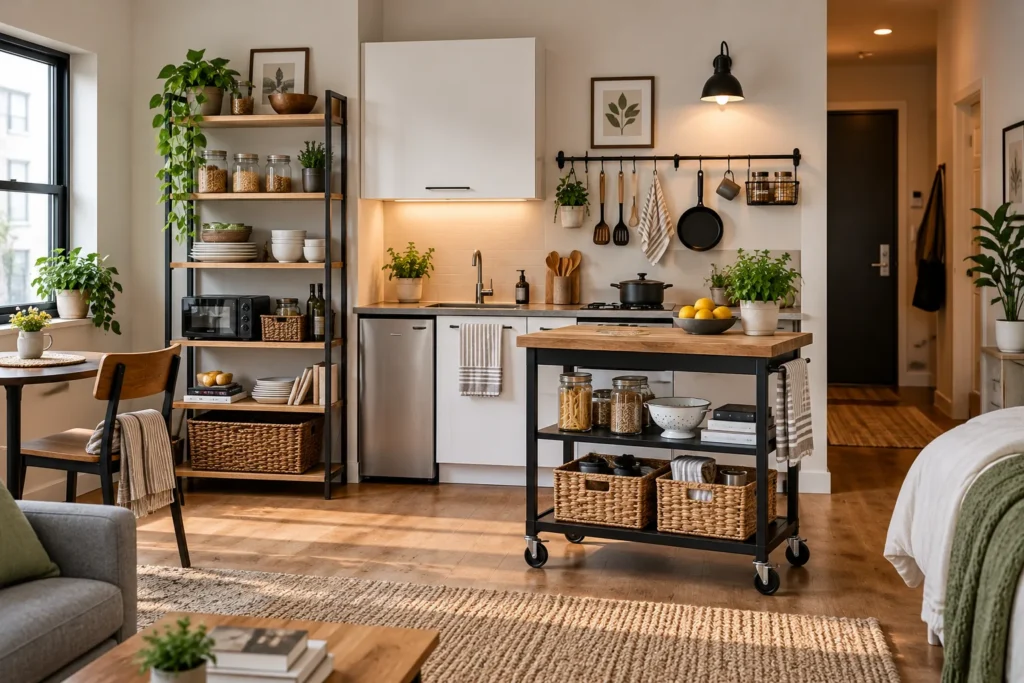
In a small rental kitchen you usually get four or five cabinets, and at least one of them is a corner unit that swallows everything you put in it. The plates are stacked to the top of the shelf with six inches of air above them, the pans are nested four deep, and the food cabinet has three rows of cans where you can only see the front one.
You can’t add cabinets and you can’t install pull-outs. What you can do is organize the ones you have so that every shelf holds twice as much and you can see all of it. That’s a method — five steps you repeat one cabinet at a time — plus eight organizers that do most of the work. Everything here is freestanding or hooks on. Nothing is screwed in, so it all comes with you.
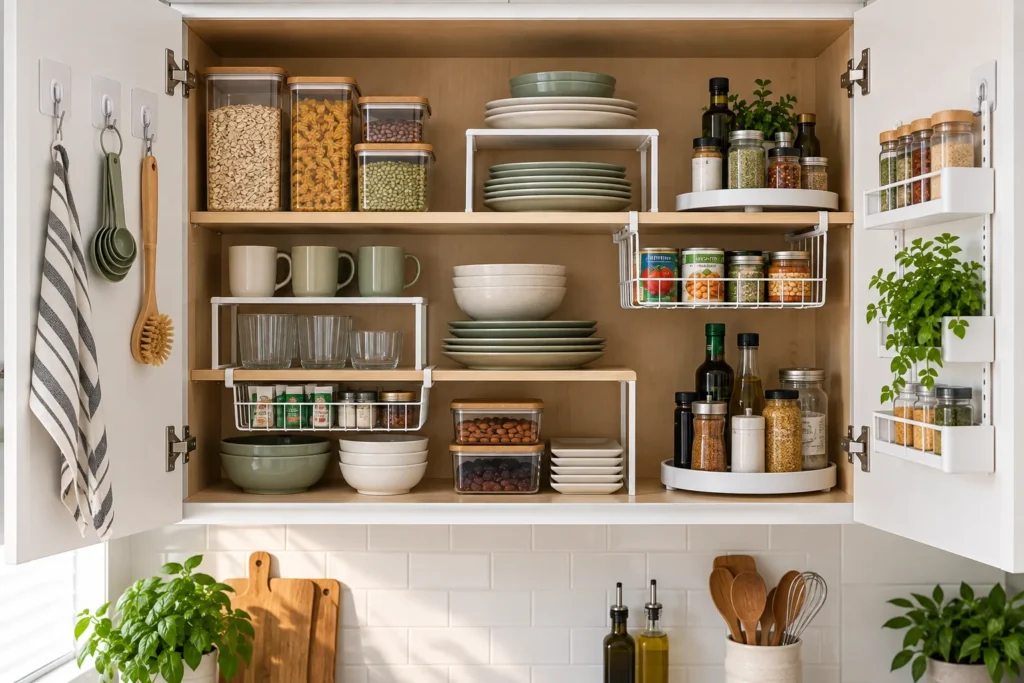
[IMG: open kitchen cabinets with plates on risers, baskets in the lower cabinet and lids on the door | alt: Illustration of organized kitchen cabinets in a small rental]
If you only buy three things
- Expandable shelf risers — double every upper cabinet. Check price on Amazon
- A two-tier turntable — fixes the corner and the deep shelf. Check price on Amazon
- A freestanding sliding basket — turns a lower cabinet into a drawer. Check price on Amazon
The 5-step method
- Empty one cabinet. Not all of them. One cabinet, everything out on the counter, wipe the shelf.
- Sort into three piles: daily, weekly, rarely. Be honest about the fondue set and the third colander.
- Zone by reach. Daily items at the front of the easiest-to-reach cabinet; weekly behind them or one shelf up; rarely on the top shelf or in the corner unit.
- Contain by category. Bins for baking, a turntable for sauces, a rack for pans. Categories stay together even when someone else unloads the dishwasher.
- Label the bins, not the shelves. Labels on bins move with you; labels on shelves cost you a deposit.
Then the next cabinet, next weekend. Four cabinets takes a month of ten-minute jobs, and it holds.
The 8 organizers that make it work
1. Expandable shelf risers (upper cabinets)
[IMG: an expandable riser in an upper cabinet with plates below and bowls on top | alt: Illustration of a riser doubling an upper cabinet shelf]
Every upper cabinet shelf has plates on it and a gap of air above them. That gap is half the cabinet doing nothing.
A riser splits the gap into two layers: plates below, bowls above; mugs below, glasses above. This set slides apart to span 13 to 23 inches of shelf and stacks for tall cabinets. This is the single highest-impact organizer in a small kitchen — the plate cabinet alone usually gains a whole shelf.
Rental-friendly? Yes.
The catch: you need about six inches of clearance between shelves for a riser to be worth it. Measure first: the taller riser in this set stands 6.1 inches high.
Check price on Amazon — around $20–27 for a set.
2. Turntables (corners and deep shelves)
Oils, vinegars, sauces and half-empty jars go to the back of a deep shelf and never come out. Corners are worse: you can’t reach the back at all.
A lazy susan solves both without any shelf surgery — spin it, and the back row becomes the front row. A two-tier version holds jars and short bottles below, with about six inches of headroom, and spice jars above. Use one in the cabinet nearest the stove for sauces and seasonings and a second for baking extracts and sprinkles.
Rental-friendly? Yes — it just sits on the shelf.
The catch: don’t overload the top tier of a two-tier turntable; heavy jars up top make it wobble when it spins.
Check price on Amazon — around $10–15.
3. Freestanding sliding baskets (lower cabinets)
[IMG: a sliding basket pulled out of a deep lower cabinet | alt: Illustration of a sliding basket in a lower kitchen cabinet]
Base cabinets are deep and dark. The back half is a black hole of things you forgot — the second slow cooker, the roasting pan, the spare dish soap.
A sliding basket on its own frame sits on the cabinet floor and pulls out like a drawer, no rails to install. Two narrow baskets side by side fit a standard base cabinet; one wide basket fits a single-door unit. The back row is one pull away, which is the difference between using it and losing it.
Rental-friendly? Yes — nothing screwed in.
The catch: measure the cabinet opening. The face frame is usually narrower than the interior, and a basket that fits inside may not fit through the door. This one is 11 inches wide, 16.75 inches deep and 7.5 inches high.
Check price on Amazon — around $25–35.
4. An adjustable pan rack
Pans nested inside each other are the reason you lift three to get the small one. Sheet trays flat on the shelf are the reason nothing else fits on that shelf.
Stand them on edge. An adjustable rack holds five or six pans and trays in the width of two, and you pull the one you want without unstacking. Put it in the lower cabinet nearest the stove and adjust the dividers to your actual pans before loading.
Rental-friendly? Yes.
The catch: the default divider spacing rarely matches what you own; set it up once, properly, or pans lean. This one expands from 12 to 22 inches wide.
Check price on Amazon — around $20–30.
5. A lid rack — on the shelf or on the door
[IMG: pot lids standing upright in a rack on the inside of a cabinet door | alt: Illustration of a lid rack inside a cabinet door]
Lids are the enemy of a tidy cabinet. They don’t stack, they slide, and they end up between the pans where they scratch everything.
Either a small upright lid rack on the shelf beside the pan rack, or a rack that mounts on the inside of the cabinet door so lids hang there. The door version uses space nothing else can, but most need adhesive or screws; the one linked here is the shelf kind, with seven adjustable dividers in a base about 11.5 inches wide.
Rental-friendly? Yes.
The catch: door-mounted lid racks need a door thick enough for the hooks and enough clearance that the lids don’t hit the shelf when the door closes.
Check price on Amazon — around $12–20.
6. Over-the-door cabinet baskets
The inside of every cabinet door is free storage that most kitchens ignore. Cutting boards lean in corners; foil and sponges crowd the sink cabinet floor.
Hook-on baskets hang on the inside of the door and hold cutting boards, foil and wraps, sponges and gloves. No screws, and the door still closes because the basket is shallow. One under the sink and one in the cabinet nearest the stove covers most kitchens.
Rental-friendly? Yes.
The catch: check the door thickness — thick or framed doors may not take the hooks — and make sure a shelf isn’t right behind the door. This one is 3.75 inches deep and 18.5 inches tall.
Check price on Amazon — around $20.
7. Stepped can and jar risers
In the food cabinet, cans two or three rows deep hide the back rows completely. You buy a third can of tomatoes because you can’t see the two you have.
A stepped riser at the back of the shelf lifts the second and third rows so every label is visible at once. Expanded to its full 25 inches, it holds about two dozen standard cans. Keep it on a lower shelf so the weight stays down.
Rental-friendly? Yes.
The catch: designed for standard cans; oversized cans and tall jars sit awkwardly on the steps. Each step on this one is 3 inches deep.
Check price on Amazon — around $15–20.
8. Clear bins with handles
Loose packets, tea, baking supplies and snacks turn a shelf into a pile. Piles don’t stay organized because there’s nothing to put things back into.
One bin per category. The bin comes out, you take what you need, the bin goes back. Clear so you can see stock; handles so you can grab from a tall shelf. See the tiny pantry guide for how to zone bins by shelf.
Rental-friendly? Yes.
The catch: measure shelf depth — many cabinet shelves are shallower than the bins made for pantries. The large bins in this set are 11.3 inches long.
Check price on Amazon — around $30 for eight.
The corner cabinet
Every small kitchen has one, and it’s where organization goes to die. Two kinds:
- Blind corner (a door on one side, a deep void behind it): put a large turntable at the front for things you use, and slide a basket into the void behind for things you rarely use — the slow cooker, holiday platters, the bulk bag of rice. The void becomes long-term storage instead of a lost-and-found.
- Diagonal corner (a wide angled door): a two-tier turntable on each shelf is the whole solution. Jars below, spices above, spin to reach.
Either way, the corner holds the rarely-used pile from step 2 of the method, never the daily items.
Upper vs lower: what goes where
[IMG: chart of what goes in each kitchen cabinet, upper and lower, near the stove or the sink | alt: Diagram of what goes in upper vs lower kitchen cabinets]
| Cabinet | Best for | Organizer |
|---|---|---|
| Upper, nearest the dishwasher | Plates, bowls, glasses, mugs | Risers |
| Upper, nearest the stove | Oils, spices, cooking staples | Turntable, spice riser |
| Upper, farthest away | Rarely used, backstock | Bins |
| Lower, nearest the stove | Pots, pans, sheet trays | Pan rack, lid rack |
| Lower, under the sink | Cleaning, trash bags | Sliding basket (see the under-sink guide) |
| Corner | Small appliances, bulk items | Large turntable + basket |
The logic: heavy things low, daily things near where they’re used, rare things far away.
Mistakes that undo the work
- Buying organizers before emptying the cabinet. You’ll buy the wrong sizes, guaranteed.
- Nesting everything to “save space.” Nested pans and stacked lids cost you time every single day.
- Putting heavy appliances in upper cabinets. Lower cabinet or the corner, always.
- Skipping labels because “it’s obvious.” It’s not obvious to the person unloading the dishwasher.
Kitchen cabinet organization FAQ
How do I organize deep kitchen cabinets?
Sliding baskets for lower cabinets and turntables or long bins for upper ones. The goal is that nothing sits behind something else: everything is either in a bin that pulls out, on a turntable that spins, or on a riser that lifts it into view. Deep cabinets fail when things are stacked flat.
Can I organize cabinets without buying anything?
Yes. The five-step method works with shoeboxes and jars, and decluttering alone usually frees a shelf. But risers and a turntable are the two purchases that pay for themselves in space, both are under $30, and both come with you when you move.
What’s the best way to store pots and pans in a small kitchen?
Upright on an adjustable rack in the lower cabinet nearest the stove, with lids in a separate rack on the shelf or the door. If the cabinets are genuinely full, a pan rack on the bottom shelf of a rolling cart works just as well and rolls out of the way.
[IMG: vertical pin image of organized kitchen cabinets with the post title | alt: Pinterest image of organized kitchen cabinets]
Start with the plate cabinet
It’s the one you open most, and a riser fixes it in ten minutes. Once you feel the difference, the rest of the kitchen follows one cabinet at a time.
Related: 15 small kitchen storage ideas · 12 kitchen drawer organization ideas · under-sink organization.
Affiliate disclosure: Shelf and Nook is a participant in the Amazon Services LLC Associates Program and other affiliate programs. As an Amazon Associate we earn from qualifying purchases. Links on this page may be affiliate links, which means we may earn a commission if you make a purchase, at no extra cost to you. Read our full Affiliate Disclosure.