This post contains affiliate links. If you buy through them, we may earn a small commission at no extra cost to you. Learn more.
A small pantry in a rental usually means one of three things: a shallow closet with four wire shelves, a single tall cabinet next to the fridge, or no pantry at all and a couple of shelves you’ve claimed for food. Whatever version you have, the rules are the same. You can’t drill, you can’t add built-ins, and you can’t make the space bigger.
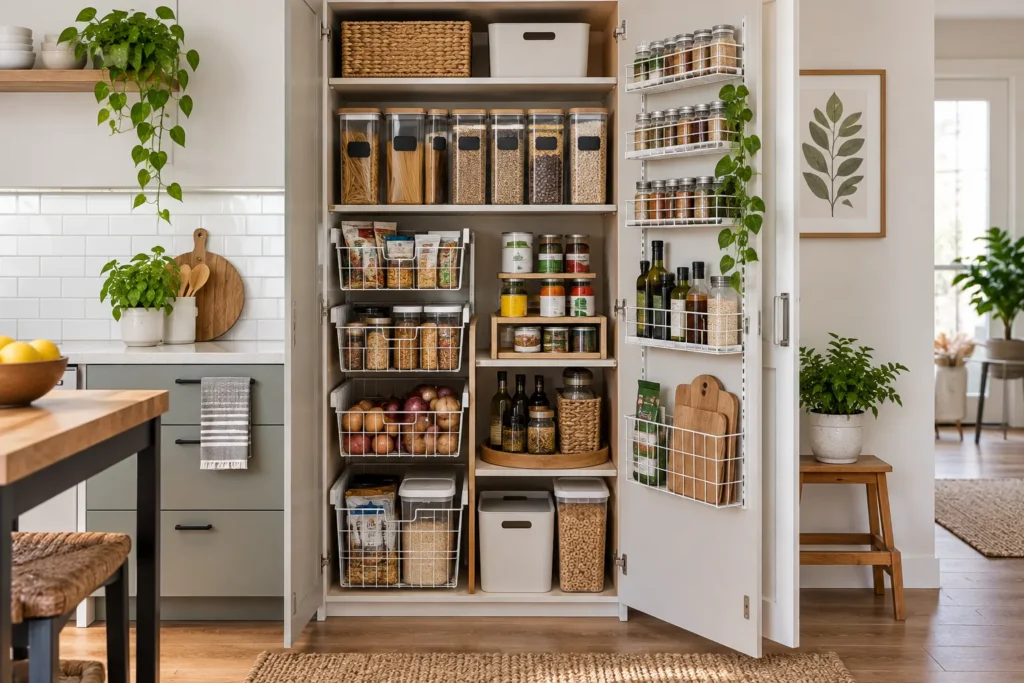
What you can do is make every inch work harder. These eleven small pantry organization ideas are the ones that actually hold up in apartments and rentals. Each one uses a single product that does the job, most of them cost under $40, and every one of them comes with you when you move out.
[IMG: a tidy small rental pantry with clear bins, shelf risers and a corner turntable | alt: Illustration of an organized small pantry with clear bins and shelf risers]
If you only buy three things
Start here if you want the biggest change for the least money:
- Clear stackable bins — the Vtopmart 8-pack turns loose packets into tidy pull-out drawers. Check price on Amazon
- A two-tier turntable — the LAMU lazy susan rescues every dead corner. Check price on Amazon
- An over-the-door rack — the Delamu 6-tier organizer adds a whole extra “wall” of storage. Check price on Amazon
1. Decant into clear stackable bins
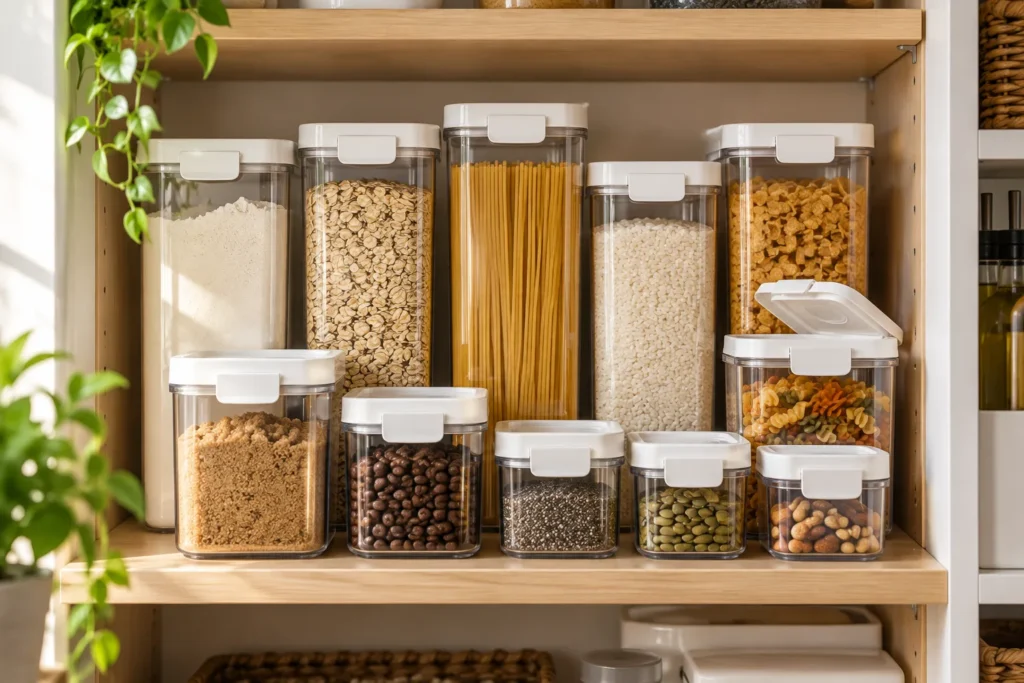
Loose packets, half-used bags of rice, and boxes of pasta are what make a small pantry feel chaotic. The fix isn’t more shelves — it’s containment. A set of clear bins with handles turns each shelf into a row of pull-out drawers, so you slide one bin out instead of digging behind everything.
The Vtopmart 8-pack is the standard pick for a reason: the four large bins are tall enough for bagged snacks and boxed mixes, the four small ones corral packets, and all eight are narrow enough that two or three fit across a closet shelf and clear enough that you don’t need to open one to see what’s inside. Group by category — baking, breakfast, snacks, pasta and grains — and give each bin a label.
Rental-friendly? Completely. Nothing to install.
The catch: measure your shelf depth before you order. Wire closet shelves are often only 12 inches deep, and some bins are longer than that. The large bins in this set are 11.3 inches long.
Check price on Amazon — around $30 for eight.
2. Put a turntable in every dead corner
[IMG: a two-tier turntable in the back corner of a pantry shelf holding oils and jars | alt: Illustration of a turntable holding jars in a pantry corner]
Corners are where oils, sauces and half-empty jars go to be forgotten. A lazy susan solves this without any shelf surgery: spin it, and the back row becomes the front row.
A two-tier version like the LAMU doubles the usable surface without taking more floor space on the shelf. The bottom tier has about six inches of headroom, enough for sauce jars, cans and short bottles, while the top handles short jars and spice blends. Use one in the corner of your most-used shelf and a second one for baking extracts and sprinkles.
Rental-friendly? Yes, it just sits there.
The catch: don’t overload the top tier; heavy jars up top make it wobble when you spin it.
Check price on Amazon — usually around $10 to $15.
3. Go vertical with shelf risers
[IMG: a shelf riser splitting one pantry shelf into two layers of cans and jars | alt: Illustration of a shelf riser creating two layers on a pantry shelf]
Most pantry shelves have six to ten inches of air above whatever’s on them. A shelf riser splits that gap into two usable layers, which is the closest you’ll get to adding a shelf without touching the walls.
The SONGMICS set is expandable: the two risers nest together to fit a narrow cabinet, or slide apart to stretch across a wider closet shelf, from about 13 to 23 inches. Put cans and jars underneath and lighter boxes on top. In a single tall cabinet, two risers can effectively double the number of shelves.
Rental-friendly? Yes.
The catch: you need roughly six inches of clearance between shelves for a riser to earn its place. The taller riser in this set stands 6.1 inches high, so allow that plus the height of whatever sits on top.
Check price on Amazon — around $20 to $27 for a set.
4. Hang a rack on the back of the door
[IMG: a rack of shallow baskets hung over the back of a pantry door | alt: Illustration of an over-the-door rack on a pantry door]
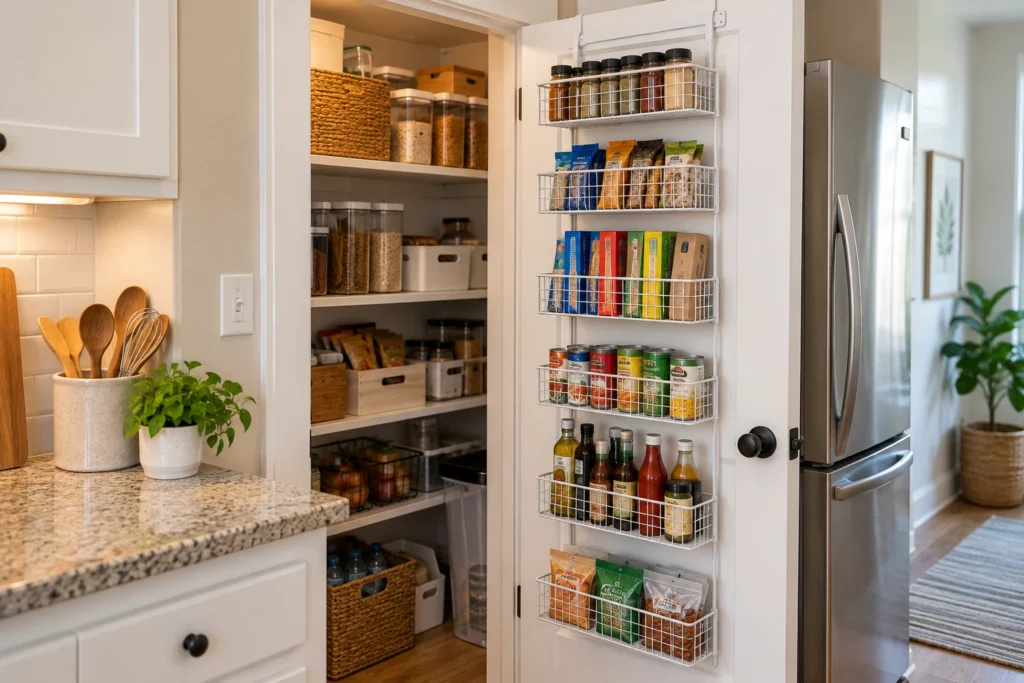
The back of a pantry door is the most-ignored storage surface in a small kitchen. An over-the-door rack hooks over the top edge — no screws — and gives you five or six shallow baskets for exactly the things that get lost on deep shelves: spices, sauce packets, wraps, tea and small jars.
The Delamu 6-tier is the go-to because the baskets are under five inches deep, so the door still closes in most pantries, and the rack comes with stick-on pads at the base to stop it from swinging.
Rental-friendly? Yes — hooks over the door, nothing drilled.
The catch: check your door clearance (the gap between the door and the frame) and skip it on hollow-core doors that flex. This rack is 18 inches wide, so it needs a door at least 20 inches wide and about 5 inches of clear space behind it.
Check price on Amazon — around $30 to $35.
5. Stack cans on a tiered rack
Cans stacked flat on a shelf waste the space behind the front row and hide whatever’s at the back. A tiered can rack lays cans on their sides on three open shelves, so you can see what you have at a glance instead of digging behind the front row.
The Kitchen Details three-tier rack holds up to 36 standard cans in a footprint of about 15 by 12 inches, and at 11 inches high it fits on most pantry shelves. Put it on a lower shelf so the weight stays down.
Rental-friendly? Yes.
The catch: it’s designed for standard 15-ounce cans; oversized cans and jars won’t sit properly. It is also 14.5 inches deep, so measure your shelf first.
Check price on Amazon — around $20 to $25.
6. Corral snacks in compartment bins
Granola bars, fruit snacks, chip bags and crackers are the fastest way to lose a shelf. Instead of one big “snack bin” that turns into a pile, use divided bins with four compartments so each type stands upright and visible.
The Vtopmart compartment bins are about the same length as the clear bins in idea #1 (10.4 inches), so they line up neatly on the same shelf. Give kids their own bin at a height they can reach; it saves the whole pantry from being rummaged through.
Rental-friendly? Yes.
The catch: family-size chip bags won’t fit; decant those into a canister.
Check price on Amazon — around $30 for a multipack.
7. Slide a slim rolling cart into the gap
Almost every rental kitchen has a useless gap: between the fridge and the wall, beside the oven, at the end of a counter run. A slim rolling cart, five to eight inches wide, turns that gap into a pull-out pantry for cans, bottles and jars.
The OKZEST four-tier cart is 7.1 inches wide and also comes in a 9.1-inch version for wider gaps. Either way, load heavier items on the bottom shelf so it rolls smoothly.
Rental-friendly? Yes — freestanding, on wheels.
The catch: wheels don’t love thick carpet or uneven tile, and the gap needs to be a straight run. This one needs a gap just over 7 inches wide and about 17 inches deep.
Check price on Amazon — around $25 to $36.
8. Give wraps and foils their own home
Foil, cling film, parchment and zip bags are long, awkward and always in the way. A wrap organizer — a small rack with adjustable shelves — keeps them in one spot, stacked with the labels facing out, instead of rolling around a drawer or lying across a shelf.
The YouCopia UpSpace is about 9 inches wide, 11 deep and 9 tall, so it sits on a high shelf or in a cabinet corner; the boxes weigh almost nothing so they belong in the awkward high spaces.
Rental-friendly? Yes.
The catch: most organizers fit standard box sizes only; extra-long parchment boxes may not. Standard 12-inch boxes overhang the sides of this one, so leave a little room either side.
Check price on Amazon — around $15 to $20.
9. Use airtight canisters for the staples you always buy
Decanting everything is a mistake (more on that below), but decanting the five or six staples you always have — flour, sugar, rice, oats, pasta, coffee — is worth it. Rectangular airtight canisters pack a shelf edge to edge with no wasted gaps, keep food fresh, and let you see when you’re running low.
The Vtopmart 24-piece set covers a whole pantry in one go; the Rubbermaid Brilliance set is the pick if you’d rather have fewer, sturdier containers. Either way, buy square or rectangular, not round.
Rental-friendly? Yes.
The catch: it’s an upfront cost, and you’ll need a permanent spot for the empty bags you decant from.
Check price on Amazon — around $35 for the large set, around $60 for Rubbermaid.
10. Label everything — even the see-through bins
Labels aren’t decoration. In a small pantry they’re what stops a system from collapsing the first week someone else puts the groceries away. Clear bins still need labels because “the bin with the packets” becomes three different bins within a month.
Preprinted sticker sets cover most pantry staples and take five minutes to apply. Or grab our free printable pantry labels and print them on plain sticker paper.
Rental-friendly? Yes — labels go on the bins, not the shelves.
The catch: chalkboard labels smudge in a humid kitchen; go for printed vinyl if your pantry is next to the stove.
Check price on Amazon — around $10 to $15.
11. Keep a “use first” basket at eye level
This one costs almost nothing and does more than any bin. Put one small basket at eye level and move anything close to its date into it — the open crackers, the last of the pasta, the half jar of sauce. It becomes the first place you look when you’re deciding what to cook, and it quietly cuts down on food waste.
Any small wire or woven basket works. It just needs to be visible and easy to grab.
Rental-friendly? Yes.
The catch: none, as long as you actually empty it.
Check price on Amazon — around $12 to $15 for a set of two.
Where everything goes: a simple small pantry layout
[IMG: diagram of small pantry zones showing what goes on each shelf | alt: Diagram of pantry shelf zones from top to bottom]
Products only work if they’re in the right zone. Here’s the layout that works in almost any small pantry, whether it’s a closet, a cabinet or a set of shelves:
| Zone | What goes there | What to use |
|---|---|---|
| Top shelf | Backstock, paper goods, things you buy in bulk and rarely touch | Clear bins, wrap organizer (ideas 1, 8) |
| Eye level | Daily staples, snacks, the “use first” basket | Turntables, compartment bins, basket (ideas 2, 6, 11) |
| Lower shelves | Heavy items: cans, canisters, small appliances | Can rack, risers, canisters (ideas 3, 5, 9) |
| Door | Spices, packets, wraps, tea | Door rack (idea 4) |
| Floor gap | Overflow, drinks, bottles | Rolling cart (idea 7) |
The logic is simple: heavy things low, daily things at eye level, rare things high, small things on the door.
Mistakes that undo a small pantry fast
- Buying bins before measuring. Shelf depth, shelf height and door clearance decide what fits. Measure all three first.
- Decanting everything. Only decant staples you replace constantly. Everything else stays in its packaging inside a bin.
- Blocking the door swing. A door rack plus a rolling cart in front of the pantry means nothing closes. Test it before you commit.
- Ignoring weight limits. Wire closet shelves sag. Keep canisters and cans on the lowest shelves, not the top.
Small pantry organization FAQ
How do I organize a pantry with deep shelves?
Use long clear bins as pull-out drawers so you never have to reach into the back, and put a turntable in each back corner. Keep the front row for things you use daily and the back row for backstock of the same category, so you’re not hiding different items behind each other.
What if my rental has no pantry at all?
Build one from freestanding pieces: a slim rolling cart in a gap, an over-the-door rack on the kitchen or closet door, and one dedicated cabinet with risers and bins. We’re putting together a full guide to kitchens without a pantry — it’ll be linked here when it’s live.
Are clear bins really worth it?
Yes, for anything that comes in soft packaging or small boxes. They stop items from sliding, make the shelf pull out like a drawer, and let you see stock levels at a glance. They’re less useful for cans and jars, which are already stackable and visible.
[IMG: vertical pin image of a small organized pantry with the post title | alt: Pinterest image of an organized small pantry]
Start with one shelf
Don’t try to redo the whole pantry in an afternoon. Pick the shelf you use most, clear it, add a set of bins and a turntable, and live with it for a week. Once that shelf stays tidy, do the next one. That’s how small pantry organization actually sticks in a rental — one shelf, one product, no drilling.
Next up: 15 small kitchen storage ideas for apartments with almost no cabinets, and if you want the free printable labels from idea 10, grab them here.
Affiliate disclosure: Shelf and Nook is a participant in the Amazon Services LLC Associates Program and other affiliate programs. As an Amazon Associate we earn from qualifying purchases. Links on this page may be affiliate links, which means we may earn a commission if you make a purchase, at no extra cost to you. Read our full Affiliate Disclosure.